8mm TEL Calibration Experiments
Closely following the methods of Dave Walker as modified by Carl Agee.
Experimental Setup:
Pressure Media- Ceramcast 584
Bore Hole diameter- 3.3mm
TC Hole diameter- .6mm
Thermocouple (TC)- W3Re/W25Re 7cm long, .005 inch diameter
Heater- Rhenium foil, .001 inches thick, two turns, 20mm x 13mm
Spacers- AlSiMag rod, dia.=3.2mm
Truncated Edge Length (TEL)- 8mm
Procedure for coesite->stishovite calibration runs:
1. Starting material- The silica (Johnson-Mathey puratronic
SiO2) powder needs to be ground into a finer powder. Place 3-4
scoop fulls of silica into the automatic agate mortar and grind
under alcohol for 6 hours. Periodically scrape down the silica
which has dried on the edges. When the grinding is done, place
the mortar under an air stream to evaporate the alcohol. Over
the mortar, place a large glass cover to prevent dust from contaminating
the silica, but leave enough room for air to circulate in or the
alcohol won't dry. Using a spatula, scrape out the dried silica
into a clean vial. Store the powder in a desiccator. This should
produce enough silica powder for many experiments.
2. Casting Octahedra- From all parts of the mold assembly wipe off any ceramic which has stuck to the Teflon. If the Teflon seems dry, apply silicone grease. Put on enough so that the Teflon feels greasy, but there should not be blobs or ridges of grease that would effect the shape of the octahedra. Assemble the mold, leaving out the last cube. Prop the assembly at a 45o angle. Weigh out the 584 ceramic powder and liquid. The next steps need to be done quickly (but carefully) before the mixture hardens. Mix the powder and liquid in a Teflon beaker. Stir until all the lumps of powder are gone. Pour the mix into the mold assembly. Using a toothpick, poke around in all of the corners of the cavity to remove any trapped air bubbles. A stirring motion also helps remove bubbles. When mix just begins to thicken quickly insert the last cube (make sure the proper corner is facing inward!). Flip the assembly over and push down the outer metal square until it is in the middle of the assembly. Place a flat piece of metal on top and push on the top to set all of the cubes flush.
3. Curing and Firing Octahedra- The ceramic needs to sit in the mold for at least 6 hours. At that point the ceramic has the hardness of clay. If you are very careful it can be removed and fired without denting it. Ideally it is best to let it cure overnight. If this is done, the ceramic is quite stiff and can be handled easily. Place the cured octahedra in a furnace at 1100 oC for at least 3 hours to drive off all water. Over firing seems to have no effect, so the octahedra can be left in the furnace overnight. When the octahedra come out of the furnace they will usually be cracked. Use alumina cement to repair the cracks and any bubbles. Then refire the octahedra for about 30 minutes.
4. Drilling- Drilling the octahedra can be done either by hand or by machine. Either way, what is essential is that the bore hole is well centered on the octahedron's face and that the TC hole goes through the middle of the bore hole. If the bore hole cuts into the fins, the octahedra should not be used. Ideally, some of the octahedra face should be visible between the edge of the bore hole and the fin.
Centering the bore hole simply takes practice and patience and more practice. One method which helps is to use a drill blank to draw a small triangle of the face of the octahedra. Make the triangle by pushing one edge of the drill blank up against the fin. Use the other edge to draw the triangle. Use this triangle to check that the hole is centered while you are drilling. To avoid cracking the octahedra, start with small drill bits and work up to the large ones. This also prevents the drill from chipping the octahedra face. Also to prevent chipping, start from on face and drill in halfway, then drill in from the other side. Start with a 1mm drill bit (solid tungsten carbide) Before going on, drill the TC hole. This needs to be done accurately, so measure the exact point on opposing fins where you want to drill. Use a .6 mm bit. The TC hole should go through the bore hole. If it does then you know that it will go through the center of the larger bore hole. Continue drilling the bore hole, working up to the final diameter (usually 3.3mm).
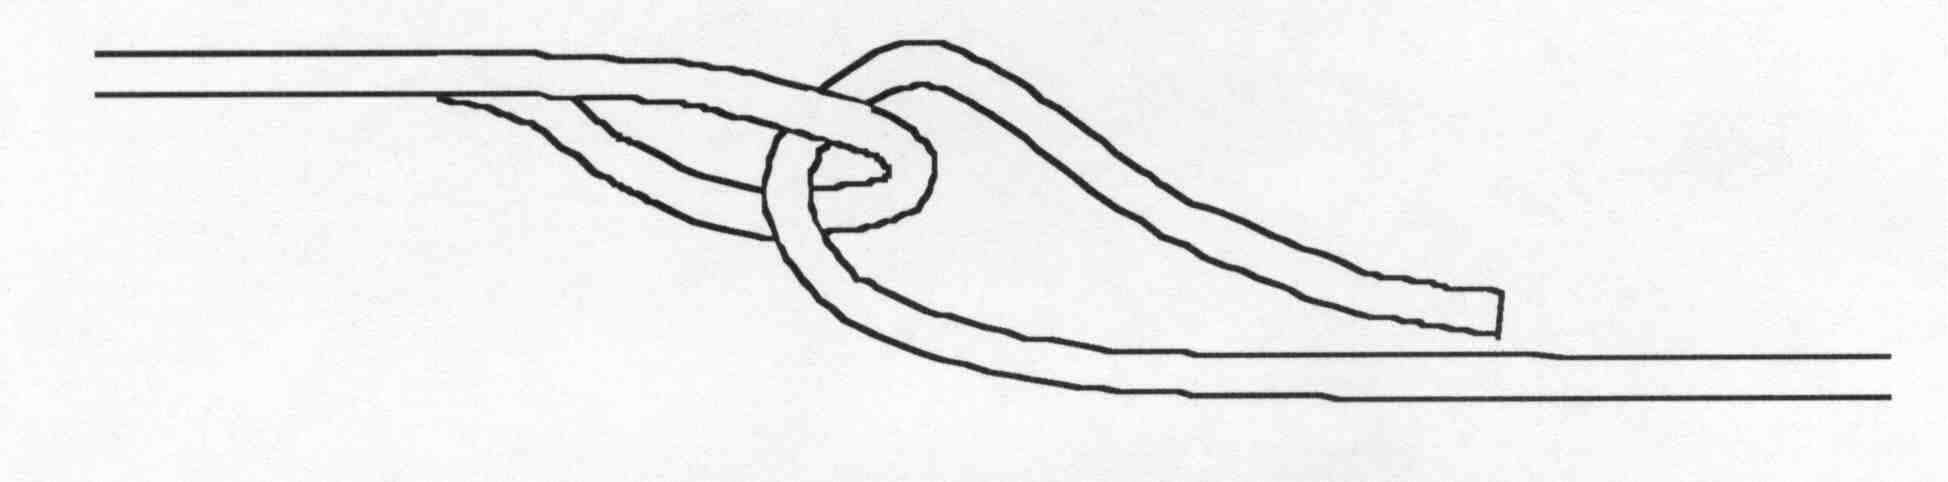
5. Thermocouple- Cut two 7cm long pieces of TC wire (W3Re/W25Re, .005 inch diameter). Mark one of the wires so that you can tell them apart. On one wire, bend the end into a loop. On the second wire, form a loop, but do not close the loop.
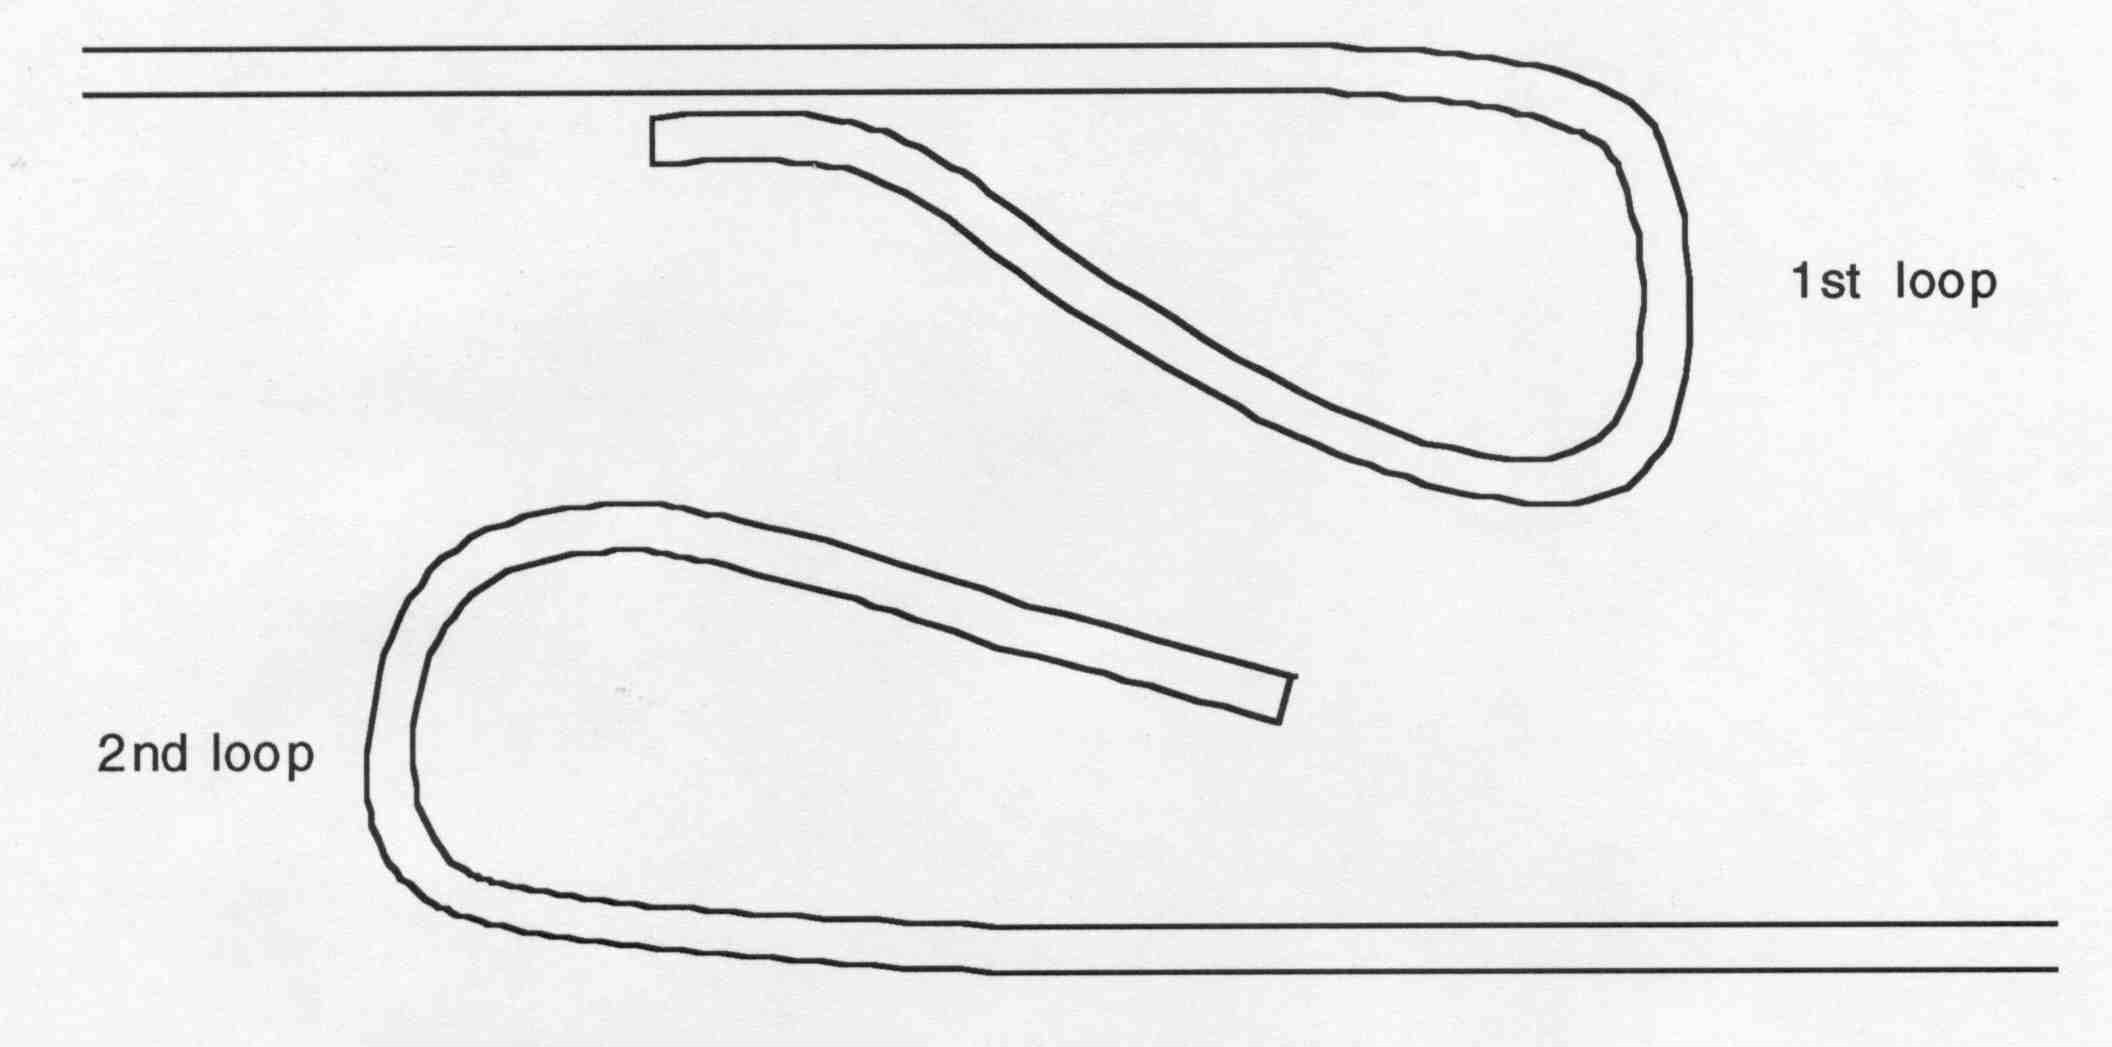
Hook this open loop onto the first loop and then close it. The junction should be as small as possible while still being durable. The binocular microscope can be helpful in doing this.
6. Heater- Cut a 20mm by 13mm piece of rhenium foil with a razor blade. Roll the foil into a tube 13mm tall and insert it into the bore hole. Use a drill blank to widen the heater. Notice the heater will expand if the drill blank is turned one way, while it will contract if the drill blank is turned the other way. Center the heater in the bore hole with the edges of the foil 90o from the TC. With a drill blank in the heater to prevent it from moving around, use a razor blade to make three slits in one end of the heater. Fold the flaps over to close the end of the heater. Use a drill blank and the steel stand to flatten the end. Adjust the position of the heater so that it is flush with or a little beneath the surface of the octahedron's face. This is relatively important for the tungsten carbide cubes to sit in the proper geometry.
7. Assembly- Using the Buehler saws, cut two pieces of AlSiMag rod 4mm long. The ends should be reasonably flat. Insert one of these into the heater and push it to the bottom with a drill blank. Gently tap it down with a hammer. Next, put the .6mm drill bit through the TC holes and poke/drill holes through the heater. Clear out any ceramic from the bore hole. Using a small spatula, fill the heater with silica powder up to the level of the TC holes. If the silica is loose, the TC will shift around too much. Next, insert the TC. Center the TC junction in the bore hole. While making sure the TC doesn't shift, fill in silica on top of the TC until the heater is about 2/3 full (don't forget to compact the silica with ethyl). Basically you need to leave enough space for the second piece of AlSiMag rod. Insert the second spacer. As with the other end of the heater, make three cuts and fold over the flaps. Use a drill bit and stand to flatten the end. Both ends of the heater should be flush or a little below the octahedra face. If not, open up the heater and remove some of the silica.
Stephen Parman updated 12/4/97